How to configure DHCP relay on FortiGate FW (Photos)
How to Configure DHCP Relay on FortiGate FW (Photos)?
-
DHCP (Dynamic Host Configuration Protocol) is a network protocol used to automatically assign IP addresses and other settings to devices on a network.
-
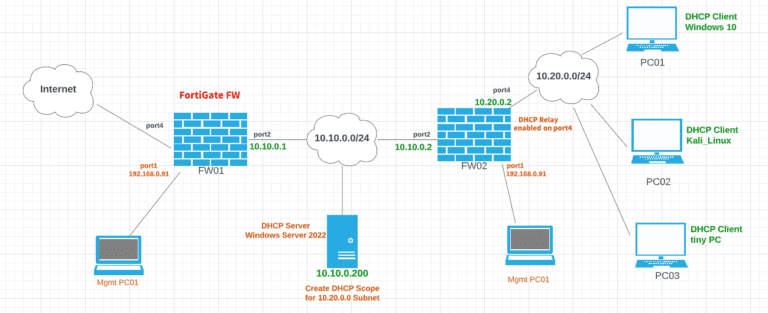
As networks grow, it becomes increasingly difficult to manage and configure each device manually. To address this problem, most companies use DHCP Relay instead of including a DHCP server on every subnet. By enabling DHCP relay, one DHCP server can support multiple subnets and simplify the configuration process. This helps reduce administrative overhead and allows for more efficient management of IP addresses across the network.
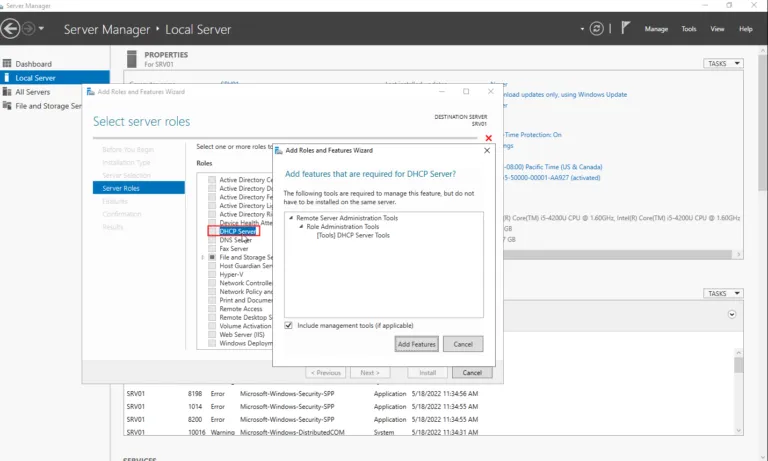
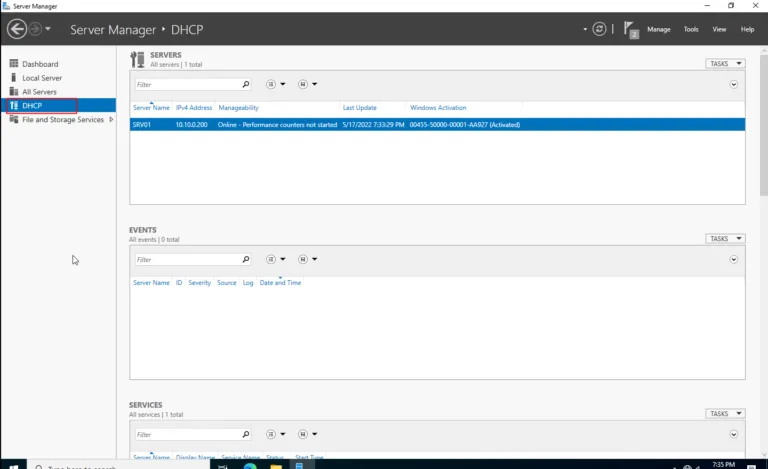
On windows Server 2022, install DHCP service
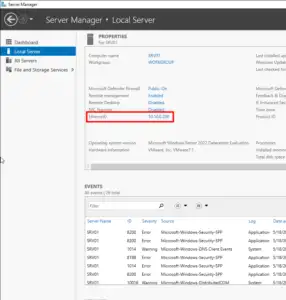

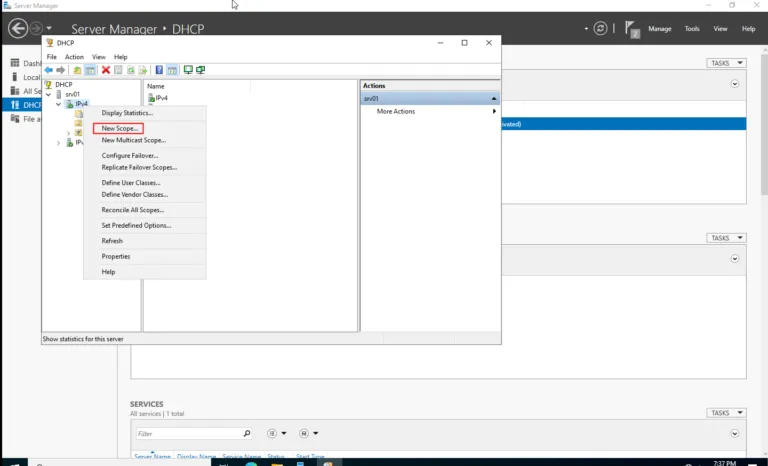
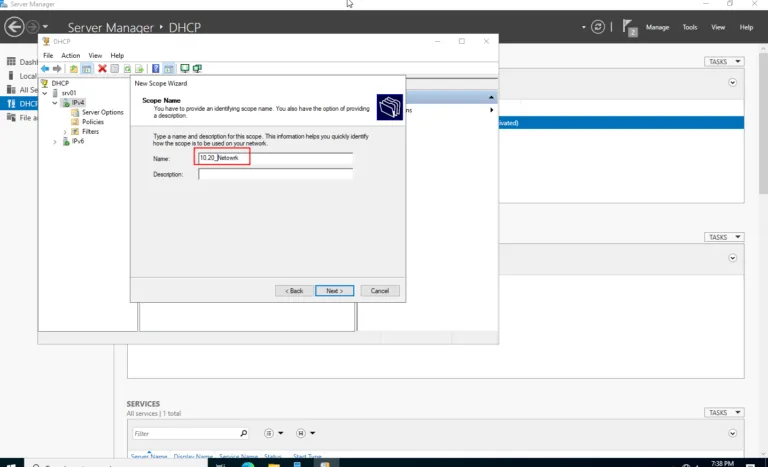
Right-click on IPv4 and create a new scope.
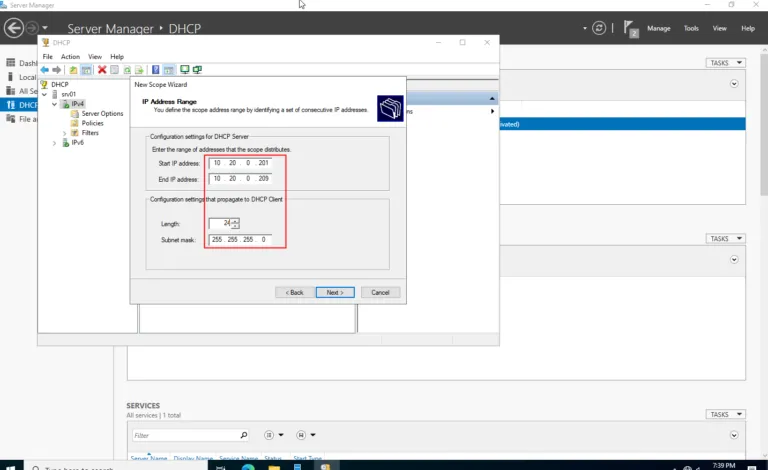
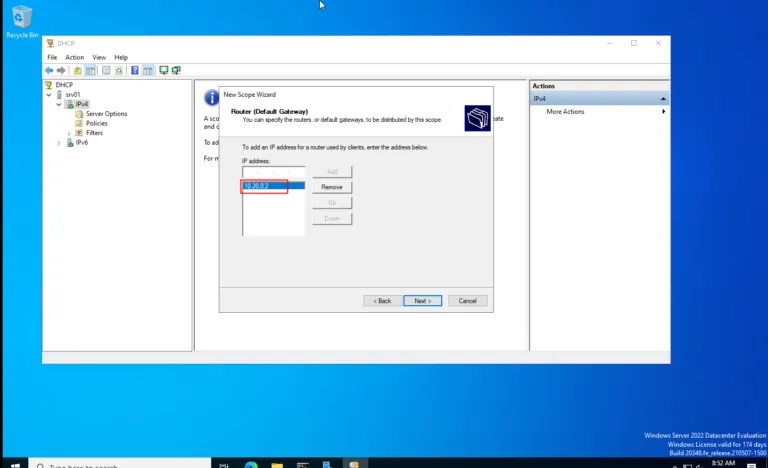
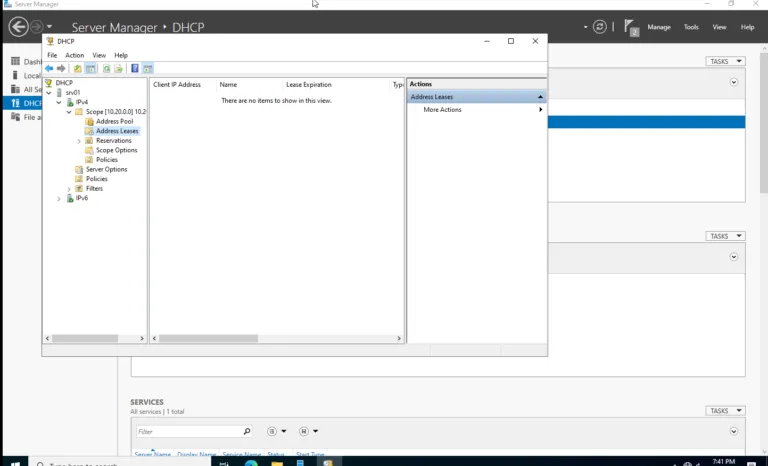
FW2
Configure the interfaces (inside and outside) on Fortigate FW.
click on DHCP server > Advanced > Relay > IP address of DHCP Server (10.10.2.200).

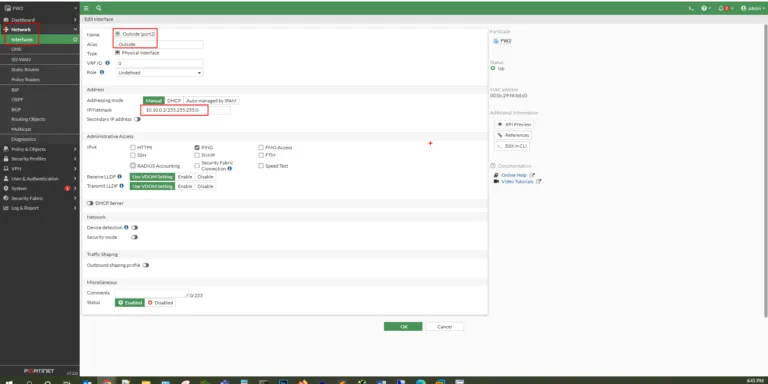

FW2 can reach DHCP Server 10.10.0.200 which has the scope for 10.20.0.0 network.

on Windows 10 client machine which configured as DHCP client (Before DHCP Relay).
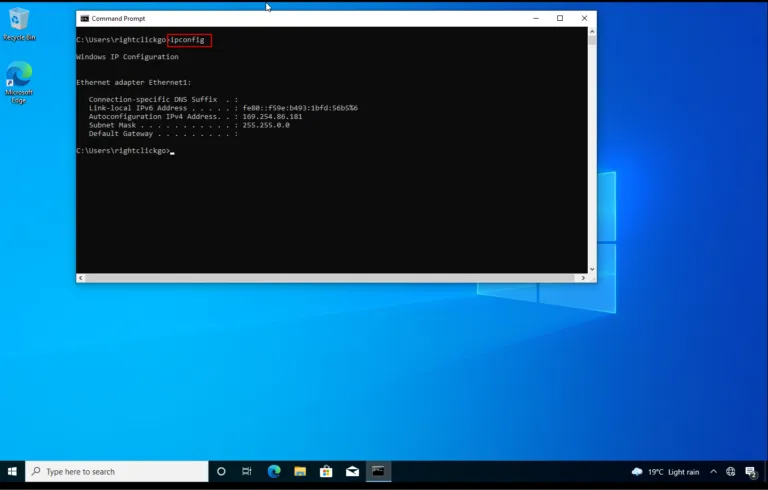
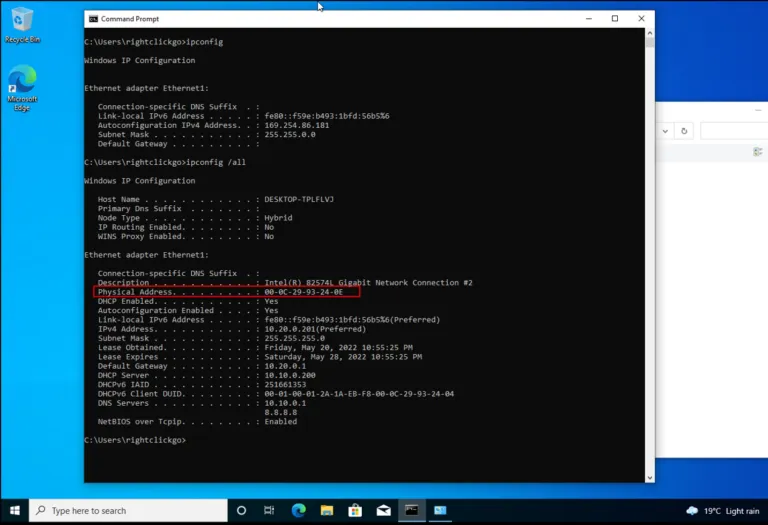
On Windows 10 client machine(After DHCP Relay).
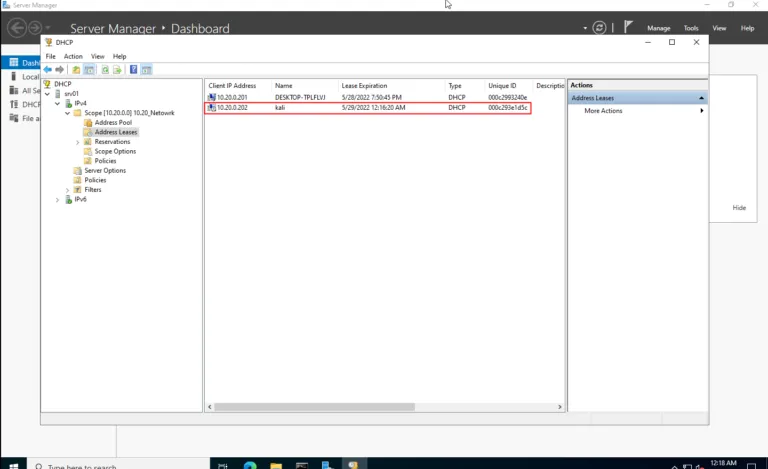
On Kali-Linux Client
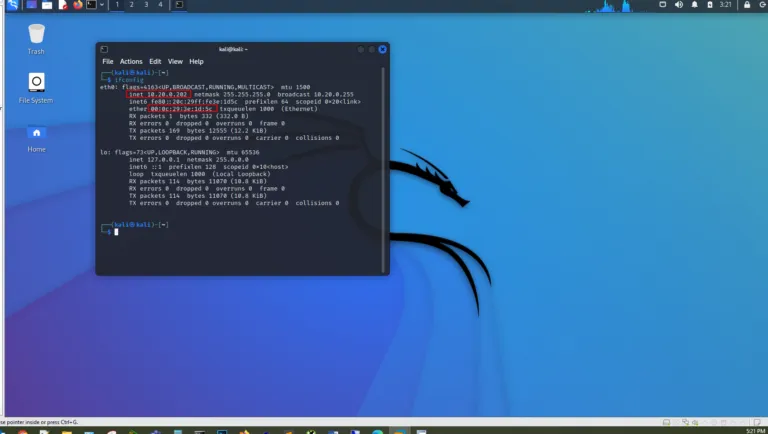
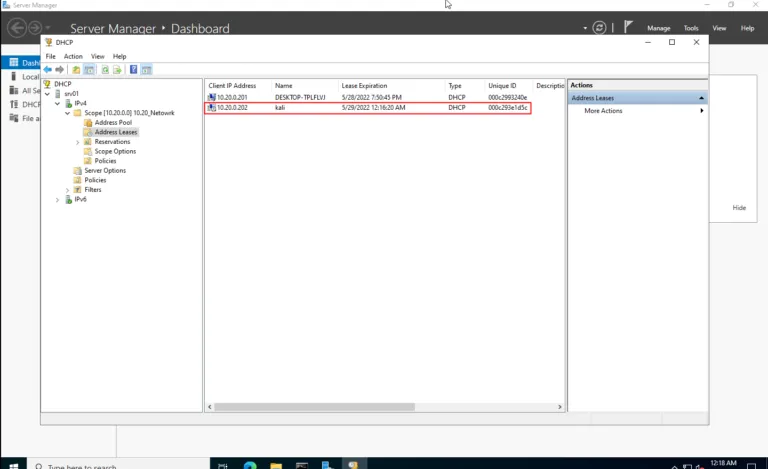
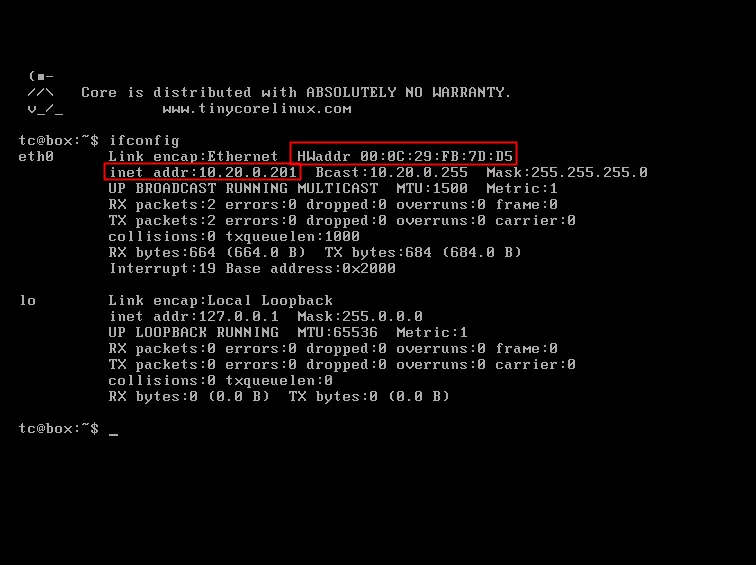
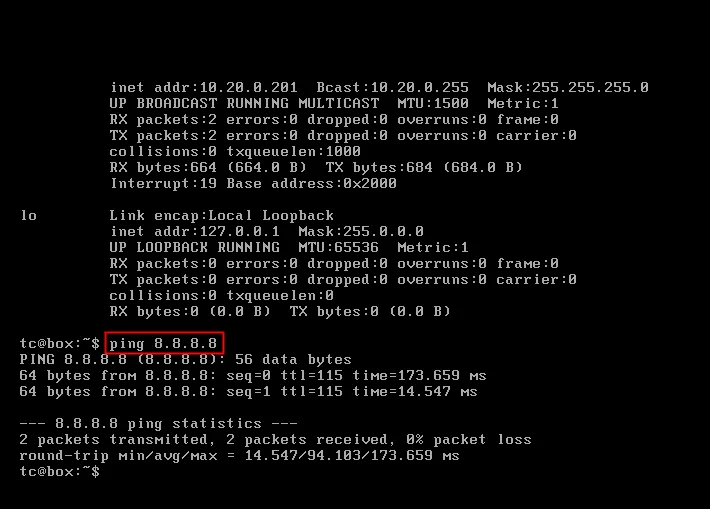
PC3,

